## start-standalone 命令可以同时启动 ConfigNode 和 DataNode,就是这么简单快捷 ╭─lucifer@Lucifer /Volumes/DBA/IoTDB/apache-iotdb-1.3.1-all-bin/sbin ╰─$ ./start-standalone.sh Execute start-standalone.sh finished, you can see more details in the logs of confignode and datanode
Successfully login at 192.168.31.24:6667 IoTDB> show timeseries +----------+-----+--------+--------+--------+-----------+----+----------+--------+------------------+--------+ |Timeseries|Alias|Database|DataType|Encoding|Compression|Tags|Attributes|Deadband|DeadbandParameters|ViewType| +----------+-----+--------+--------+--------+-----------+----+----------+--------+------------------+--------+ +----------+-----+--------+--------+--------+-----------+----+----------+--------+------------------+--------+ Empty set. It costs 0.030s
关闭 IoTDB 数据库
1 2 3 4 5 6
╭─lucifer@Lucifer-7/Volumes/DBA/IoTDB/apache-iotdb-1.3.1-all-bin/sbin ╰─$ ./stop-standalone.sh Check whether the internal_port is used..., port is10710 StopConfigNode, PID: 82045 Check whether the rpc_port is used..., port is6667 StopDataNode, PID: 82096
配置快捷命令
这里分享一个小技巧,避免每次使用都需要进入到 sbin 目录下执行命令:
1 2 3 4 5 6 7 8 9
╭─lucifer@Lucifer-7 ~ ╰─$ cat<<-\EOF>>~/.zshrc export IoTDB_HOME=/Volumes/DBA/IoTDB/apache-iotdb-1.3.1-all-bin alias IoTDB_start='$IoTDB_HOME/sbin/start-standalone.sh' alias IoTDB_stop='$IoTDB_HOME/sbin/stop-standalone.sh' alias IoTDB_cli='$IoTDB_HOME/sbin/start-cli.sh' EOF ╭─lucifer@Lucifer-7 ~ ╰─$ source ~/.zshrc
╭─lucifer@Lucifer-7 ~ ╰─$ IoTDB_start Execute start-standalone.sh finished, you can see more details in the logs of confignode and datanode ╭─lucifer@Lucifer-7 ~ ╰─$ IoTDB_cli --------------------- Starting IoTDB Cli --------------------- _____ _________ ______ ______ |_ _|| _ _ ||_ _ `.|_ _ \ || .--.|_/ || \_||| `. \ ||_) | || / .'`\ \ ||||||| __'. _||_| \__. | _||_ _||_.' /_||__) | |_____|'.__.' |_____||______.'|_______/ version 1.3.1 (Build: 214695d)
Successfully login at 127.0.0.1:6667 IoTDB> show timeseries +----------+-----+--------+--------+--------+-----------+----+----------+--------+------------------+--------+ |Timeseries|Alias|Database|DataType|Encoding|Compression|Tags|Attributes|Deadband|DeadbandParameters|ViewType| +----------+-----+--------+--------+--------+-----------+----+----------+--------+------------------+--------+ +----------+-----+--------+--------+--------+-----------+----+----------+--------+------------------+--------+ Empty set. It costs 0.181s IoTDB> exit ╭─lucifer@Lucifer-7 ~ ╰─$ IoTDB_stop Check whether the internal_port is used..., port is 10710 Stop ConfigNode, PID: 90400 Check whether the rpc_port is used..., port is 6667 Stop DataNode, PID: 90449
单机模式比较简单,到这里安装就结束了。
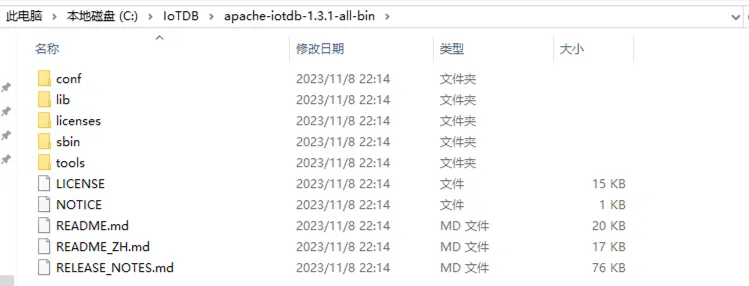
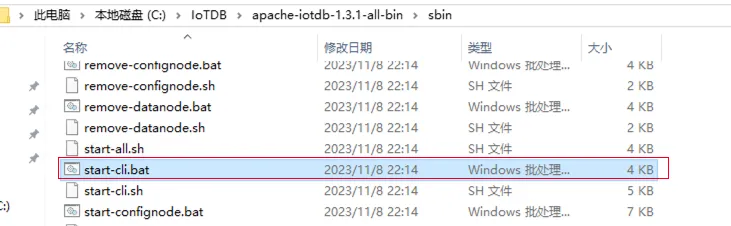
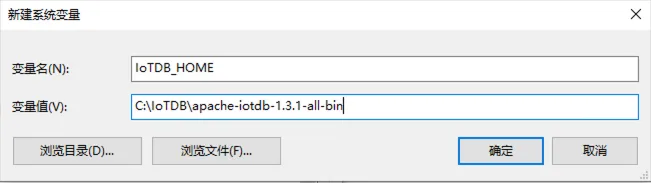
Windows 安装
Windows 也是一样,安装配置好 JAVA 后解压文件夹即可。
检查 JAVA 环境
查看 JAVA 是否满足:
1
2
3
4
5
6
7
8
9
## 查看 java 版本 C:\Users\RemoteVM>java -version java version "1.8.0_411" Java(TM) SE Runtime Environment (build 1.8.0_411-b09) Java HotSpot(TM) 64-Bit Server VM (build 25.411-b09, mixed mode)
## 创建 IoTDB 安装目录 [root@IoTDB01 ~]# mkdir /IoTDB [root@IoTDB01 ~]# unzip -q /soft/apache-iotdb-1.3.1-all-bin.zip -d /IoTDB/ [root@IoTDB01 ~]# cd /IoTDB/apache-iotdb-1.3.1-all-bin/ [root@IoTDB01 apache-iotdb-1.3.1-all-bin]# ll total 156 drwxr-xr-x. 2 root root 4096 Nov 8 2023 conf drwxr-xr-x. 2 root root 8192 Nov 8 2023 lib -rw-r--r--. 1 root root 14739 Nov 8 2023 LICENSE drwxr-xr-x. 2 root root 259 Nov 8 2023 licenses -rw-r--r--. 1 root root 786 Nov 8 2023 NOTICE -rw-r--r--. 1 root root 19971 Nov 8 2023 README.md -rw-r--r--. 1 root root 16730 Nov 8 2023 README_ZH.md -rw-r--r--. 1 root root 77727 Nov 8 2023 RELEASE_NOTES.md drwxr-xr-x. 2 root root 4096 Nov 8 2023 sbin drwxr-xr-x. 4 root root 261 Nov 8 2023 tools
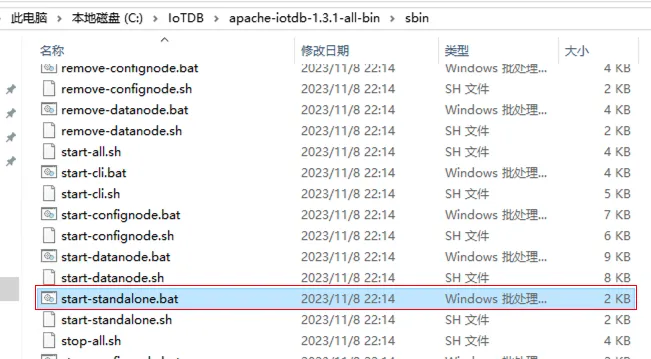
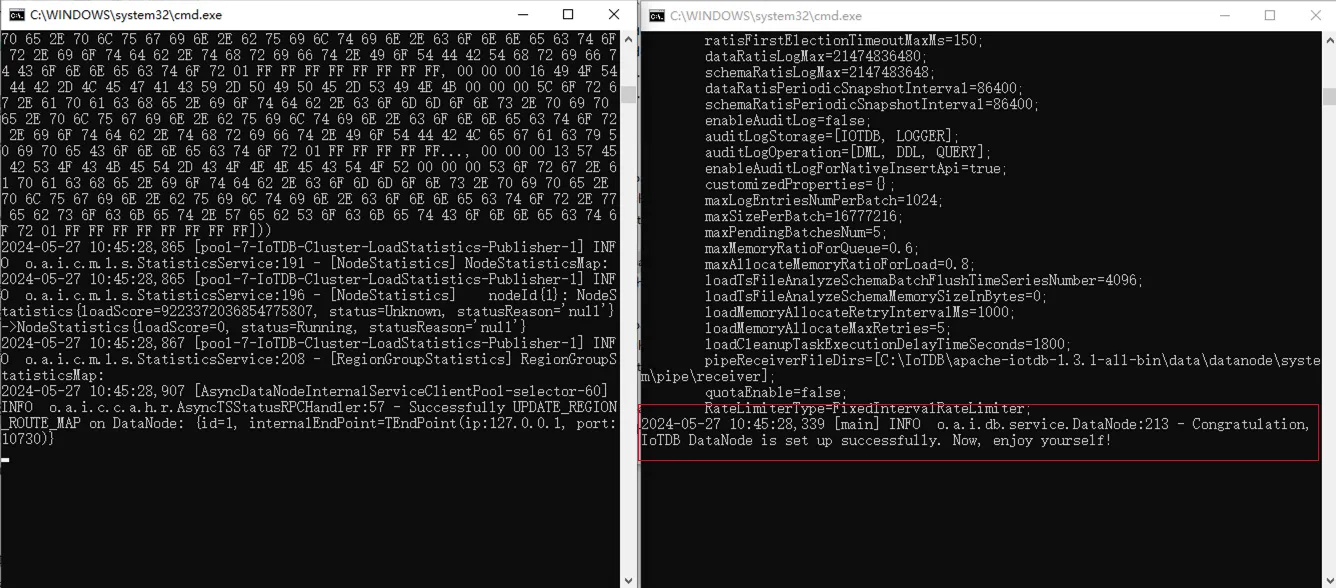
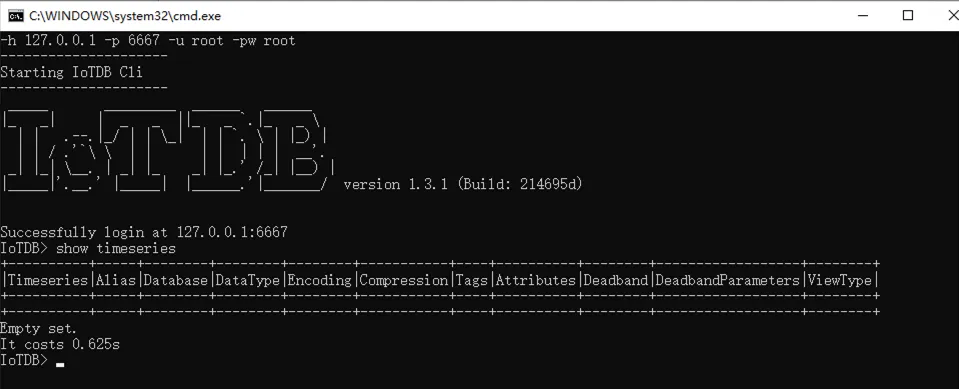
启动 IoTDB 数据库
进入 sbin 目录:
1 2 3
## 一键启动 IoTDB 数据库 [root@IoTDB01 sbin]# ./start-standalone.sh Execute start-standalone.sh finished, you can see more details in the logs of confignode and datanode
Successfully login at 127.0.0.1:6667 IoTDB> show timeseries +----------+-----+--------+--------+--------+-----------+----+----------+--------+------------------+--------+ |Timeseries|Alias|Database|DataType|Encoding|Compression|Tags|Attributes|Deadband|DeadbandParameters|ViewType| +----------+-----+--------+--------+--------+-----------+----+----------+--------+------------------+--------+ +----------+-----+--------+--------+--------+-----------+----+----------+--------+------------------+--------+ Empty set. It costs 0.445s
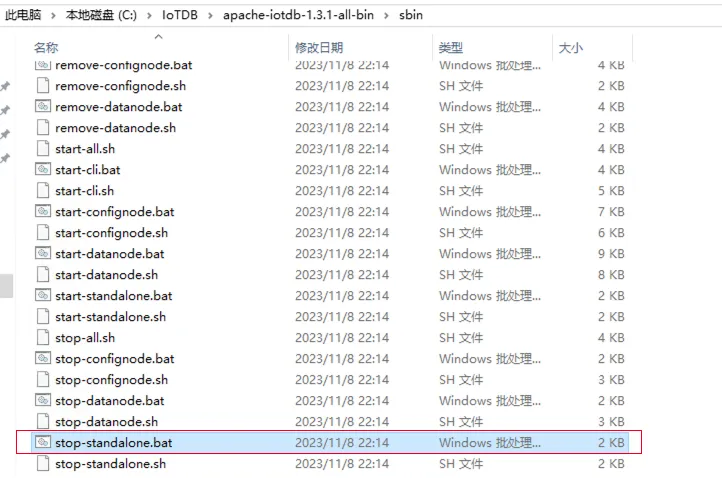
关闭 IoTDB 数据库
1 2 3 4 5
[root@IoTDB01 sbin]# ./stop-standalone.sh Check whether the internal_port is used..., port is10710 Stop ConfigNode, PID: 19825 Check whether the rpc_port is used..., port is6667 Stop DataNode, PID: 19916
配置快捷命令
1 2 3 4 5 6 7
[root@IoTDB01 ~]# cat <<-\EOF>> ~/.bash_profile export IoTDB_HOME=/IoTDB/apache-iotdb-1.3.1-all-bin alias IoTDB_start='$IoTDB_HOME/sbin/start-standalone.sh' alias IoTDB_stop='$IoTDB_HOME/sbin/stop-standalone.sh' alias IoTDB_cli='$IoTDB_HOME/sbin/start-cli.sh' EOF [root@IoTDB01 ~]# source ~/.bash_profile
[root@IoTDB01 ~]# IoTDB_start Execute start-standalone.sh finished, you can see more details in the logs of confignode and datanode [root@IoTDB01 ~]# IoTDB_cli --------------------- Starting IoTDB Cli --------------------- _____ _________ ______ ______ |_ _|| _ _ ||_ _ `.|_ _ \ || .--.|_/ || \_||| `. \ ||_) | || / .'`\ \ ||||||| __'. _||_| \__. | _||_ _||_.' /_||__) | |_____|'.__.' |_____||______.'|_______/ version 1.3.1 (Build: 214695d)
Successfully login at 127.0.0.1:6667 IoTDB> exit [root@IoTDB01 ~]# IoTDB_stop Check whether the internal_port is used..., port is 10710 Stop ConfigNode, PID: 20453 Check whether the rpc_port is used..., port is 6667 Stop DataNode, PID: 20586
╭─lucifer@Lucifer-7/Volumes/DBA/IoTDB ╰─$ docker exec -ti iotdb-service /iotdb/sbin/stop-standalone.sh Check whether the internal_port is used..., port is10710 StopConfigNode, PID: 292 Check whether the rpc_port is used..., port is6667 StopDataNode, PID: 7
启动 IoTDB 数据库
1 2 3 4 5 6 7 8 9 10 11 12
╭─lucifer@Lucifer-7 /Volumes/DBA/IoTDB ╰─$ docker ps-a130 ↵ CONTAINER ID IMAGE COMMAND CREATED STATUS PORTS NAMES 7c5fed890ee1 apache/iotdb:1.3.0-standalone"/usr/bin/dumb-init …"11 minutes ago Exited (130) 3 minutes ago iotdb-service